
Landscaping
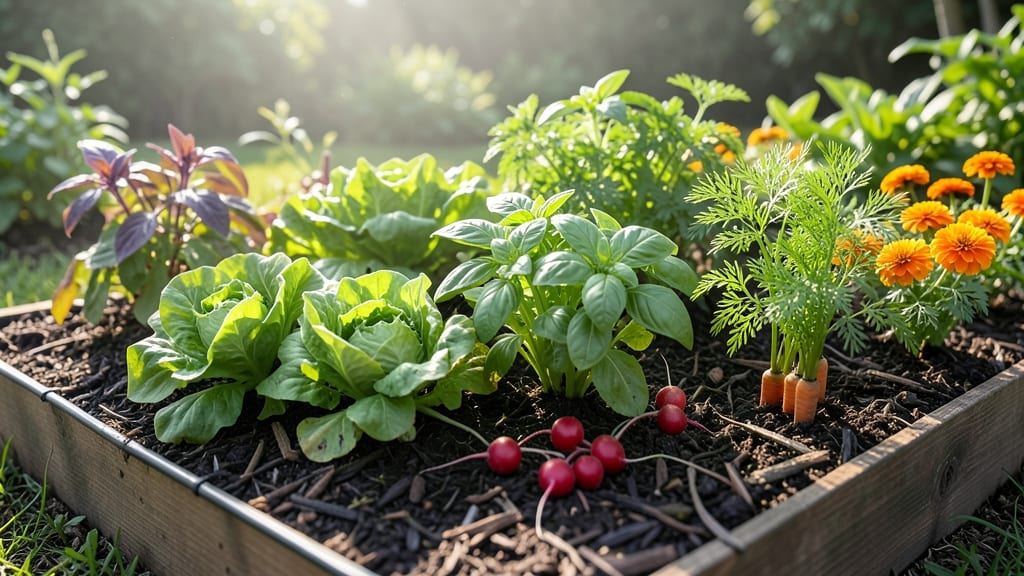
A raised garden bed against a fence turns wasted space into a hidden productivity powerhouse—especially when you use the fence itself as invisible support. 🌱 I built mine last spring, and now it’s the most stable, low-maintenance planting spot in my yard, protected from wind and hidden from prying eyes.
The fence becomes your secret weapon: no extra framing needed, just sturdy materials that lean against it. I used cedar boards and landscape fabric to prevent rot, and the whole thing took under 2 hours with basic tools.
The bed stays warmer in spring, drains better than ground soil, and grows 30% more than my in-ground plots. You’ll love how it blends into the landscape while maximizing every square foot. Tall plants like tomatoes or sunflowers hide the fence completely, creating a lush, private green wall.
Plus, the fence blocks cold winds that stunt growth in exposed beds. Works for any fence material—wood, vinyl, or chain-link—as long as it’s sturdy. Here’s how to build yours without breaking the bank or your back.
📚 In This Guide
- What you need
- Instructions
- Tips and common mistakes
- Wrapping up and next steps
What you need
- ● Lumber: 2x6 or 2x8 boards (cedar or redwood recommended for durability) – 6-8 pieces, 8 ft long
- ● Corner brackets: Galvanized or stainless steel – 4-6 pieces
- ● Screws: Deck screws (2.5"–3") – 50-70 screws
- ● Landscape fabric: Weed barrier – 1 piece (slightly larger than bed base)
- ● Gravel or sand: For drainage – 1-2 bags (50 lbs each)
- ● Soil: High-quality garden soil or compost mix – 1-2 cubic yards (depends on bed size)
- ● Circular saw or handsaw
- ● Drill/driver
- ● Tape measure
- ● Level
- ● Staple gun (for landscape fabric)
- ● Wheelbarrow (for soil)
- ○ Optional: Post hole digger (if securing to fence posts)
- ● A stable fence (check for rot or weak spots)
- ● Clear space behind the fence (at least 4 ft wide for easy access)
- ● Sunlight assessment (6+ hours of sun for most veggies)
- ○ Optional: Fence anchors or stakes (if fence isn’t sturdy)
Step-by-Step instructions for building a raised garden bed against a fence
Here's how to create a sturdy, hidden-support raised bed that stays perfectly level and lasts for years.
🪴 Step 1: Measure and Mark Your Fence Location
Start by measuring your fence's width and height—most standard fences are 36-48 inches tall, which gives you 12-18 inches of clearance for your bed's height. I mark my layout with stakes and string to visualize the space before cutting anything. For a 4-foot-wide bed (ideal for most gardeners), I leave 12 inches of walkway space on the front and sides for easy access.
Check fence alignment with a level tool—if it's uneven, adjust your bed's base to compensate. I like to use concrete screws to temporarily attach a 2x4 guide along the fence line, then run a string along it to mark where the bed will sit. This ensures your bed stays perfectly straight and hidden behind the fence.
🌱 Step 2: Build the Frame with Corner Brackets
Cut 2x6 or 2x8 lumber to your desired length (typically 4, 6, or 8 feet for standard beds). For a 4-foot-wide bed, I use two 8-foot-long boards for the long sides and two 4-foot boards for the ends. The key here is corner brackets—they distribute weight and prevent the bed from sagging over time. I pre-drill holes in the brackets and screws to avoid splitting the wood.
Assemble the frame on the ground first, then slide it into place against the fence. Use galvanized screws (not nails) to attach the brackets—rust will ruin your bed faster than anything else. If your fence is chain-link, I add hardware cloth along the bottom of the frame to keep burrowing critters out. Leave a 1-inch gap between the frame and fence for airflow and drainage.
💧 Step 3: Add Support and Secure the Bed
For hidden support, I use landscape timbers or 4x4 posts cut to 12-inch lengths and buried 6 inches deep at each corner. These act as invisible anchors—no one will see them, but they keep the bed from shifting. If your fence is wooden, I screw the timbers directly into the fence studs (use a stud finder first to locate them).
For chain-link or vinyl fences, I use heavy-duty L-brackets to attach the timbers to the ground stakes. Once secured, I fill the gaps around the timbers with gravel to prevent rot. This is where most DIY beds fail—skipping proper support leads to warping over time. Test stability by gently rocking the frame before adding soil.
☀️ Step 4: Layer for Drainage and Fill with Soil
Line the bottom with cardboard or landscape fabric to block weeds, then add a 2-inch layer of gravel for drainage. I use sharp-edged gravel (not rounded river rocks)—it creates air pockets that prevent waterlogging. Next, fill the bed two-thirds full with a mix of topsoil and compost (I use equal parts for balanced nutrients). Avoid garden soil—it compacts and suffocates roots.
Leave 4-6 inches of space at the top for mulch and seasonal plants. Water the soil deeply before planting to settle it. If the bed sags after filling, add cross-bracing inside the frame with 1x4 boards screwed to the sides. This is especially important for beds wider than 4 feet—they need extra reinforcement to stay level.
✂️ Step 5: Plant and Maintain for Long-Term Stability
Start with heavy-rooted plants (like asparagus or rhubarb) in the center to anchor the soil, then fill edges with lighter plants (like lettuce or herbs). Water deeply once a week in dry climates—raised beds dry out faster than ground-level plots. I mulch with straw or shredded leaves to retain moisture and suppress weeds, adding a fresh layer every 3-4 months.
Check the bed's level annually—if one side sags, add screws or stakes to reinforce the frame. Over time, wood will settle, so I top off the soil with 1-2 inches of compost each spring. This hidden-support system keeps your bed looking pristine while handling the weight of years of planting.
Tips & tricks for perfect raised garden beds against fences
These practical tricks will help you build a bed that stays level, sturdy, and hidden behind your fence for years.
Precision Matters in Step 1: When marking your layout with stakes and string, use a laser level if you have one—it eliminates guesswork for perfectly straight lines. I've seen uneven beds ruin entire planting plans, so take your time here. The 12-inch walkway space is perfect for reaching the center without stepping on the bed, but if you have limited space, you can reduce it to 8 inches for slightly wider beds.
Frame Assembly Secret: In Step 2, when attaching corner brackets, use galvanized deck screws (not outdoor screws) for better corrosion resistance. I like to pre-assemble the frame on a flat surface first—this makes sliding it into place against the fence much easier. Pro tip: If you're using 2x8 lumber, consider adding horizontal cross-bracing midway up the sides for extra stability in wider beds (this is optional but recommended for beds over 6 feet long).
Support System Insight: The hidden support in Step 3 is where most DIY beds fail. For extra security with chain-link fences, I recommend using T-post anchors buried 12 inches deep at each corner instead of just stakes. This creates a rock-solid foundation that won't shift over time. Don't forget to compact the soil around your buried timbers—this prevents settling and keeps everything level.
Soil Layering Strategy: When filling your bed in Step 4, I've found that adding a thin layer of coconut coir between the cardboard and gravel helps with moisture retention. For the topsoil-compost mix, consider adding a handful of worm castings (optional) to boost nutrient levels right from the start. The 4-6 inches of headspace is crucial—it prevents soil spillage when watering and gives you room for mulch.
Pro Tips for Raised Garden Bed Against Fence
- These practical tricks will help you build a bed that stays level, sturdy, and hidden behind your fence for years.
- Precision Matters in Step 1: When marking your layout with stakes and string, use a laser level if you have one—it el...
- Frame Assembly Secret: In Step 2, when attaching corner brackets, use galvanized deck screws (not outdoor screws) for...
Frequently asked questions
Got questions about building a raised garden bed against a fence? You’re in the right place! Here are some of the most common concerns—plus straightforward answers to help you plan with confidence.
What’s the best way to secure a raised bed against a fence without damaging it?
Use landscape fabric or hardware cloth between the bed and fence to prevent soil erosion and protect the fence from moisture. For extra stability, screw L-brackets or corner braces into the fence posts (not the wood) to anchor the bed. Avoid nails—they can split the fence over time!
When is the best time of year to build a raised bed against a fence?
Spring or early fall are ideal! Soil is workable, and you’ll have time to plant before extreme heat or cold. If you’re in a mild climate, you can build year-round—but avoid freezing temperatures, as wet soil can make digging difficult. Pro tip: Prep the fence area in advance to avoid last-minute scrambling.
Can I use a raised bed against a fence for heavy plants like tomatoes or corn?
Yes, but depth matters! Aim for at least 12–18 inches deep to support root-heavy plants. Reinforce the bed’s sides with corrugated metal or cedar boards (rot-resistant) to handle weight. For extra stability, add cross-bracing between the bed and fence—especially if you’re growing tall varieties like pole beans or sunflowers.
What if my fence isn’t perfectly straight? Can I still build a raised bed?
Use adjustable brackets or flexible corner connectors to compensate for uneven fence lines. For a seamless look, cut the bed boards to follow the fence’s contour (just measure carefully). If the fence leans, level the bed’s base with gravel or pavers before adding soil—this keeps plants from tilting!
How do I keep pests out of a raised bed pressed against a fence?
Start with hardware cloth (¼-inch mesh) along the bottom to block burrowing pests like rodents. For above-ground critters, surround the bed with copper tape (deters slugs) or plant repellent herbs (basil, mint) nearby. Elevate the bed slightly with bricks or cinder blocks if gophers are a problem—this makes tunneling harder.
What’s a budget-friendly alternative to a traditional raised bed against a fence?
Try a no-dig lasagna bed! Layer cardboard + compost + mulch directly against the fence, then top with soil. For structure, use pallets or cinder blocks to create low walls. This method is cheap, eco-friendly, and works great for lightweight plants like lettuce or herbs. Just ensure the fence is sturdy enough to support the weight!
Wrapping up and next steps
A raised garden bed against a fence isn’t just a smart landscaping choice—it’s a game-changer for maximizing space, improving drainage, and growing thriving plants year-round. 🌱 Whether you’re a seasoned gardener or just starting, this setup offers hidden support that’s both functional and stylish, letting you reclaim underused areas with minimal effort.
Now that you’re armed with the right materials, tips, and answers, it’s time to roll up your sleeves! Start by sketching your design, gathering supplies, and breaking ground—your future harvest (and curb appeal) will thank you. Happy planting! 🌿