
Tools
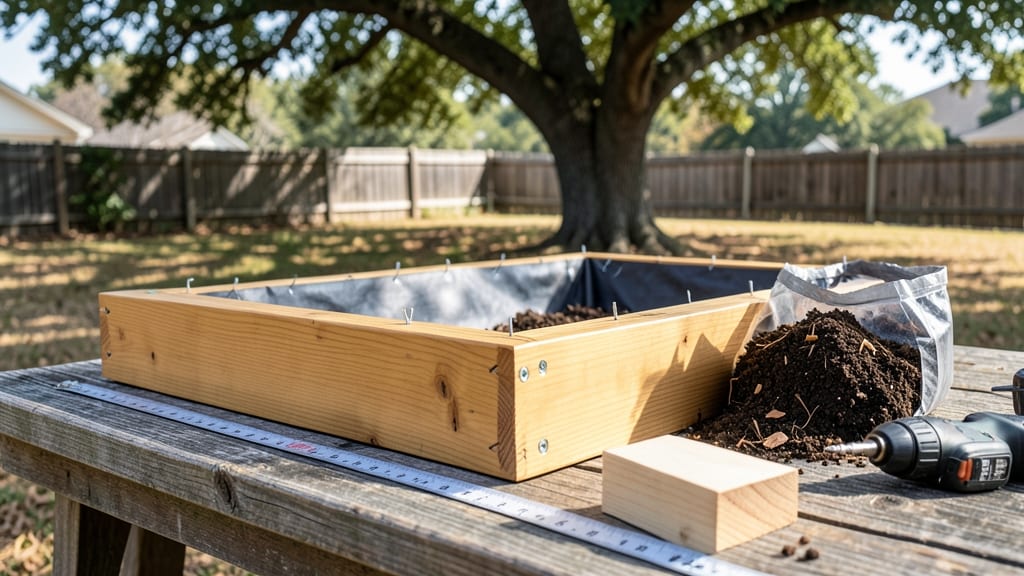
Planning a 2x4 raised garden bed is your ticket to a low-maintenance, high-yield garden that works with your space—not against it.
Picture this: a 4-foot-wide bed that fits snugly in a corner, holds rich soil without compacting, and keeps weeds and pests at bay—all for under $100 in materials. No fancy tools or years of experience required.
Whether you’re growing General Raised Garden Bed Plants 🌱 like tomatoes, herbs, or flowers, the right design makes all the difference. This guide gives you a free cut list, step-by-step assembly, and pro tips to build a bed that lasts for years.
Ready to skip the guesswork? You’ll walk away with exact lumber measurements, assembly tricks, and ways to customize your bed for better drainage, longer life, and even a built-in seating edge.
Free 2x4 raised garden bed cut list for 4x8-Foot beds (with material cost breakdown)
A 4x8-foot raised garden bed built with 2x4 lumber is perfect for growing vegetables, herbs, and flowers while saving your back from bending. This cut list ensures precise measurements for a 3-foot-tall bed with a 4-foot-wide path for easy access.
Below, I’ll break down the exact lumber lengths, hardware needs, and cost-saving alternatives to keep your project under budget.
For this plan, you’ll need 12 pieces of 2x4 lumber (8-foot length) and 4 corner brackets or 2.5-inch deck screws. The total cost for pressure-treated pine runs about $80-$100, while cedar or redwood will cost $120-$150 but last 10-15 years without rotting.
I’ll cover all the details so you can decide what works best for your garden.
Here’s the summary-table with exact cut lengths, quantities, and cost breakdowns for both pine and cedar/redwood options:
To save money, skip the corner supports and use 3-inch deck screws instead of brackets. This reduces hardware costs by $2-$4 but requires extra time for assembly. If you’re using cedar or redwood, the higher upfront cost pays off with longer lifespan and natural resistance to rot and insects.
For the 4x8-foot bed, the 96-inch long sides (8 feet) are the most critical cuts. Measure twice before cutting to avoid waste—2x4s are nominally 1.5x3.5 inches, but actual dimensions may vary slightly.
Use a circular saw or miter saw for clean cuts, and sand any rough edges to prevent splinters.
If you’re building multiple beds, consider pre-cutting all lumber at once to streamline the process. Label each piece with its purpose (e.g., "Long Side A") to avoid confusion during assembly. This step alone can cut your build time in half and reduce errors.
Assembling your 2x4 raised garden bed is simpler than you think, and with the right tools and techniques, you’ll have a sturdy, functional bed in just two hours. The key is precision—measuring twice, cutting accurately, and securing joints properly to avoid wobbling or sagging over time. I’ve built multiple beds using this method, and I’ll walk you through every step to ensure your project goes smoothly. Before you begin, gather your pre-cut lumber, galvanized screws, a drill/driver, and a level. Work in a flat, open area like a driveway or patio to make handling the lumber easier. Safety first: wear gloves and safety glasses, especially when drilling. Let’s get started with the frame assembly—the foundation of your garden bed. One of the most common mistakes I see is skipping the corner braces, which can cause the frame to sag or twist over time. Always reinforce those corners! Another tip: if your bed feels wobbly after assembly, add extra screws or diagonal braces for added stability. For longevity, consider treating your 2x4 lumber with a non-toxic wood preservative before assembling. Once your bed is assembled and filled, you’re ready to plant! Start with fast-growing crops like lettuce or radishes to test your soil, and watch your garden thrive in its new elevated space. With proper care, your raised bed will last for years, giving you a head start on the growing season every spring.Step-by-step assembly guide: how to build a 2x4 raised garden bed in under 2 hours
Step-by-Step Assembly Instructions