
Tools
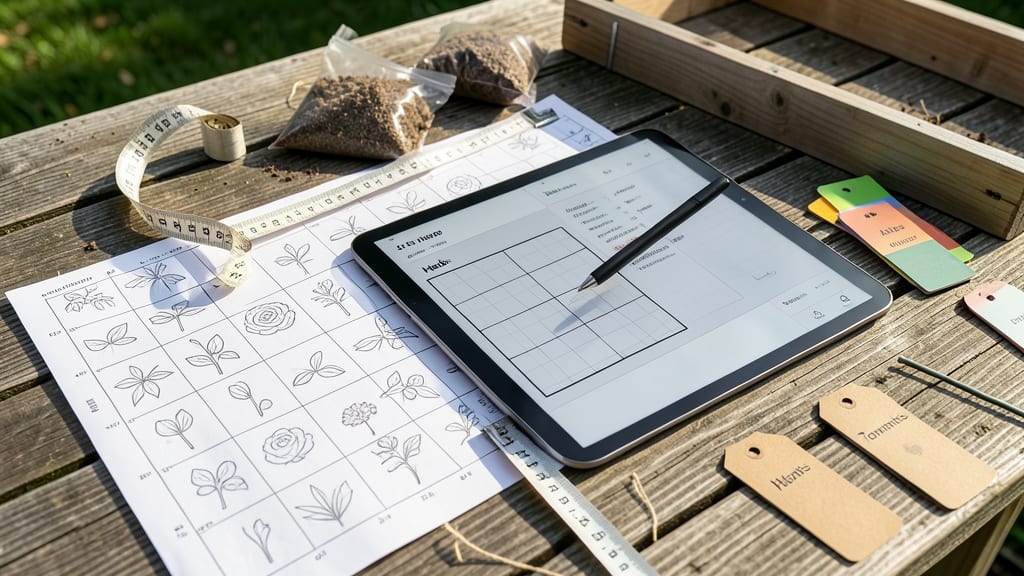
Planning a raised bed garden layout that actually works starts with sunlight, not just aesthetics. 🌱 I designed my first beds by mapping sun exposure first—my tomatoes get 8+ hours, while leafy greens thrive in morning sun with afternoon shade. The result?
A garden that produces reliably instead of looking pretty but failing. Modular beds let you adjust spacing, drainage, and soil depth for each plant’s needs. My 4×8-foot beds use cedar lumber for durability and cedar mulch to retain moisture.
The key is keeping paths wide enough for wheelbarrows but narrow enough to save space—my 2-foot-wide paths fit perfectly between beds. You’ll end up with a layout that maximizes harvests while keeping weeds and pests at bay.
The first year, my zucchini vines didn’t sprawl into the lettuce, and my herbs stayed within reach for cooking. Small spaces? Stack beds vertically or go narrow and deep. This system works for any climate, from hot summers to cold winters.
Start with one bed, then expand as you see what grows best in your spot.
📚 In This Guide
- What you need
- Instructions
- Tips and common mistakes
- Wrapping up and next steps
What you need
- ● Raised bed frames: Untreated wood (cedar or redwood recommended for durability): 2x6s or 2x8s, 8+ ft long (quantity depends on bed size; e.g., 4 boards for a 4x8 ft bed).
- ● OR pre-cut raised bed kits (check dimensions for modular compatibility).
- ● Hardware: Galvanized or stainless steel screws (2.5–3 inches long): 100+ pieces (for wood frames).
- ○ Corner brackets (optional but recommended for stability): 4–8 pieces (depends on bed size and design).
- ● Landscape fabric: 1 roll (3–4 ft wide) (to line the bed and block weeds).
- ● Soil mix: ~2–3 cubic yards (per 4x8 ft bed; blend of topsoil, compost, and perlite/sand for drainage).
- ● Basic tools: Drill/driver with bits.
- ● Tape measure.
- ● Level (to ensure even beds).
- ● Shovel or spade (for soil prep).
- ● Wheelbarrow (for hauling materials).
- ● Enhancements: Drip irrigation kit or soaker hoses (for efficient watering).
- ● Timers for automated watering systems.
- ● Pathway materials (gravel, pavers, or mulch) for accessibility.
- ● Comfort & Safety: Knee pads (trust us, your knees will thank you!).
- ● Work gloves and safety glasses.
- ● Portable saw (if cutting wood on-site).
- ● Design Touches: Decorative trim or paint (for a polished look).
- ● Plant labels or markers (for tracking modular zones).
Step-by-step guide for designing a functional raised bed layout
Here's how I create a raised bed that maximizes space, sunlight, and soil health—without the guesswork.
🌱 Step 1: Map Your Sunlight Zones First
Start by observing your yard. Most vegetables need 6-8 hours of direct sun, while leafy greens tolerate 4-6 hours. Use a white garden flag or stake to mark where sunlight hits at different times of day. I test this in late afternoon when shadows are longest—you'll see distinct zones where light lingers or disappears early.
Sketch a simple diagram of your raised bed area, labeling each section with its sun exposure. Place your tallest plants (like tomatoes or corn) on the south or west side of the bed, where they won't shade shorter plants. If your bed runs east-west, divide it into north and south halves—this prevents midday shading issues entirely.
🪴 Step 2: Divide the Bed Into Modular Zones
For a 4-foot wide bed, create 3-foot planting sections separated by 6-inch pathways. This width lets you reach the center without stepping on soil. I use landscape fabric or cardboard as temporary dividers while I plan, then replace them with permanent edging (like bricks or metal) if needed.
Assign each zone to a plant family based on sun needs and growth habits. For example, place squash and cucumbers in the sunniest spot—they sprawl and need room. Reserve the partial shade zone for lettuce, spinach, or herbs. This keeps conditions consistent within each section and prevents competition.
☀️ Step 3: Plan for Seasonal Rotation
Draw a quick timeline of what you'll grow each season. Heavy feeders like tomatoes and peppers need rich compost in spring, while nitrogen-loving greens benefit from aged manure in fall. I rotate my zones annually to prevent soil depletion and disease buildup.
Label each zone with its rotation plan. For instance, Zone A might host tomatoes in summer, followed by carrots in fall, then onions in spring. This system keeps your soil balanced and your harvests diverse. I jot notes on a small chalkboard near the bed to track what goes where each year.
💧 Step 4: Design for Water and Accessibility
Place your water source (like a hose bib or drip irrigation line) along the longest side of the bed. This makes it easy to water without stepping on plants. I install a simple timer on my drip system to deliver ½ inch of water 2-3 times per week, adjusting for rain.
Leave at least 2 feet of clear path around the bed for maintenance. If space is tight, use a foldable stool to kneel comfortably. I also add a small bench along one side—it’s perfect for harvesting or relaxing while the garden grows.
✂️ Step 5: Test and Adjust Before Planting
Walk through your layout one last time. Check that no plants will shade others at their mature height, and that pathways are wide enough for your tools. I bring a tape measure and kneel in each zone to visualize how I’ll work there—this catches awkward spots before I plant.
If you’re unsure about spacing, sketch your plants to scale. For example, a bush bean needs only 4 inches of space, while a zucchini requires 2 feet**. Adjust your zones to fit the biggest plants first, then fill gaps with smaller companions like radishes or lettuce.
Tips & tricks for perfect raised bed garden layouts
Creating a functional raised bed isn't just about digging dirt—it's about strategic planning that pays off all season long.
Sunlight Strategy: I've found that marking sunlight zones in late afternoon reveals patterns you'd miss in the morning. Shadows shift dramatically—what seems sunny at 10 AM might be completely shaded by 3 PM. Place your tallest plants like tomatoes or corn on the south or west sides of the bed to prevent shading issues entirely. This simple adjustment can mean the difference between thriving plants and struggling ones.
Zone Width Wisdom: The 4-foot width recommendation isn't arbitrary—it's based on ergonomics. You can comfortably reach the center without stepping on soil, which keeps your paths clean and prevents soil compaction. For wider beds, consider creating two parallel 4-foot sections with a 6-inch pathway between them instead of one giant bed. This modular approach gives you flexibility to adjust zones as your plants grow.
Rotation Record Keeping: That small chalkboard I mentioned? I actually use a simple spreadsheet on my phone now. I track each zone's rotation history, soil amendments, and any pest issues. When spring rolls around, I can instantly see which zones need compost and which need nitrogen. This digital record has saved me from repeating mistakes year after year—like planting tomatoes where last year's blight was worst.
Watering Workaround: If your water source isn't along the longest side, don't stress. I've used flexible soaker hoses that can snake along the bed's perimeter. For stubborn spots, a simple garden sprayer with a long nozzle gives me the reach I need without stepping on plants. The key is positioning your water source strategically from the start—it's one of those details that makes gardening feel effortless rather than like work.
Pro Tips for Planning A Raised Bed Garden Layout
- Creating a functional raised bed isn't just about digging dirt—it's about strategic planning that pays off all season...
- Sunlight Strategy: I've found that marking sunlight zones in late afternoon reveals patterns you'd miss in the mornin...
- Zone Width Wisdom: The 4-foot width recommendation isn't arbitrary—it's based on ergonomics. You can comfortably reac...
Frequently asked questions
about planning your raised bed garden layout—because even the best-laid plans need a little troubleshooting! Here’s what you’ve been wondering:What’s the best size for a raised bed?
Aim for 4’ x 8’ (or smaller if space is tight)—this size lets you reach the center without stepping in, while maximizing growing area. For modular layouts, stick to even dimensions (e.g., 2’ x 4’, 3’ x 6’) to create uniform zones. Avoid beds wider than 4’ unless you’re okay with bending over!
When is the best time to plan and build?
Start planning 6–8 weeks before planting season (spring or fall, depending on your climate). Build beds in late winter or early spring so soil has time to settle and warm up. Pro tip: Test soil pH before filling beds to adjust nutrients early!
How do I rotate crops in a modular layout?
Label each zone (e.g., "Zone A: Tomatoes," "Zone B: Greens") and rotate families yearly to prevent disease. Use a simple chart to track what grew where—apps like GrowVeg can help! Example: Swap tomatoes (Zone A) with beans (Zone B) next season.
Can I use alternatives to wood for raised beds?
Yes! Try bricks, cinder blocks, or metal frames for durability. For eco-friendly options, stack untreated logs or stones. Just ensure materials are non-toxic (no pressure-treated wood) and allow drainage. Caution: Metal beds may heat up faster in sun—add mulch to insulate roots!
How do I keep pests out without chemicals?
Layer hardware cloth at the bottom to block burrowing critters, and use companion planting (e.g., marigolds near veggies). For above-ground pests, try row covers or neem oil. A chicken wire barrier around the perimeter deters rabbits and squirrels!
What if my soil keeps draining too fast?
Amend with compost, coconut coir, or peat moss to improve water retention. For sandy soil, add leaf mold or biochar. Line the bottom with cardboard (unbleached) to slow drainage slightly—just leave gaps for roots. Test drainage by filling a section with water and checking how long it takes to drain!
Wrapping up and next steps
Planning your raised bed garden layout is all about strategic design—balancing sun exposure, soil health, and seasonal crops for maximum yield. By modularizing your beds, you create a flexible, low-maintenance system that adapts to your space and goals.
Whether you’re a beginner or a green thumb, start small, sketch your vision, and let your garden grow with you!
🌱 Next step: Grab your measuring tape, sketch your first bed, and dive in—your harvest is waiting! 🌿