
Flowers
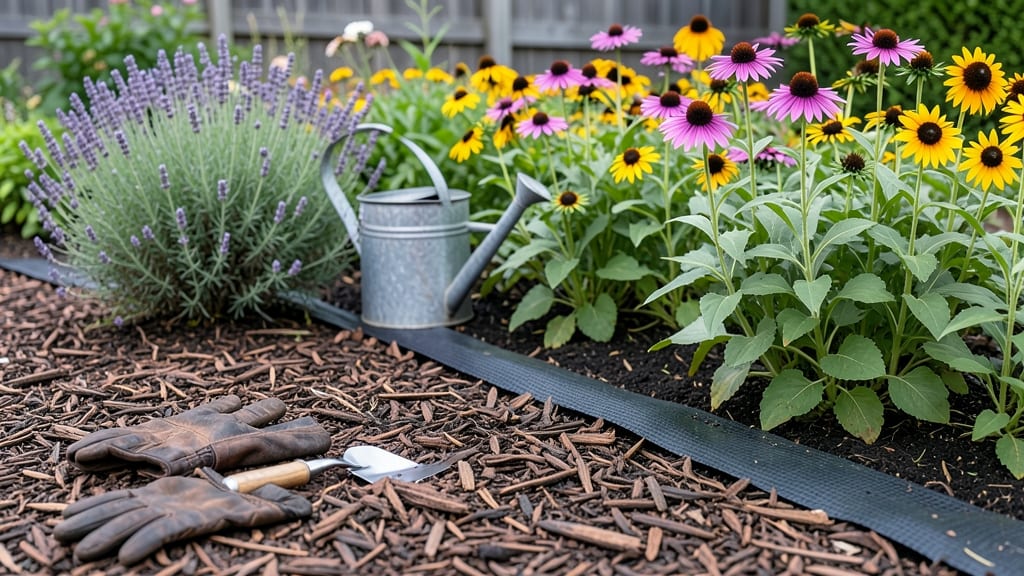
My flower bed material game changed when I stopped buying pre-mixed soil and started layering loam, compost, and mulch like a pro. 🌱 The right combination keeps roots happy year-round, suppresses weeds, and makes your garden look effortlessly polished—without the backbreaking work of tilling every spring.
The secret isn’t expensive ingredients—it’s matching materials to your climate and plant needs. I use 3 inches of coarse sand for drainage in heavy clay soil, topped with 4 inches of compost, then finished with 2 inches of mulch to lock in moisture.
This setup works for perennials, annuals, and even shrubs because it mimics nature’s own layered soil structure. You’ll notice fewer wilting plants in summer heat and fewer weeds popping up between waterings. The mulch layer also breaks down slowly, feeding your soil for 2-3 seasons without extra work.
Plus, the finished bed looks neat and intentional—no more patchy, compacted dirt. Works for raised beds, in-ground plantings, or even container gardens. Here’s how to build yours without the guesswork!
📚 In This Guide
- What you need
- Instructions
- Tips and common mistakes
- Wrapping up and next steps
What you need
- ● Topsoil: 2–3 cubic yards (for a 4’x8’ bed, ~12” deep). Opt for well-draining, organic-rich topsoil with a pH of 6.0–7.0.
- ● Compost: 1–2 bags (or 1 cubic yard if homemade). Look for aged, disease-free compost (20–40% organic matter).
- ● Peat Moss or Coconut Coir: 1–2 bags (for moisture retention and aeration).
- ● Perlite or Vermiculite: 1 bag (for drainage and root aeration).
- ● Slow-Release Fertilizer: 10–20 lbs (e.g., 10-10-10 or organic options like bone meal).
- ● Mulch: 2–3 bags (shredded bark, pine straw, or compost).
- ● Garden Fork or Tiller: For breaking up soil and mixing layers.
- ● Wheelbarrow or Garden Cart: To haul materials efficiently.
- ● Rake: For leveling and smoothing the bed.
- ● Garden Gloves & Knee Pads: Because comfort matters! 😉
- ● Measuring Tape & String Line: For marking bed dimensions.
- ● Water Hose with Spray Nozzle: For hydration and settling layers.
- ● Biochar: 1–2 bags (boosts soil fertility and water retention).
- ● Mycorrhizal Fungi: 1 lb (enhances root health for perennials).
- ● Soil pH Test Kit: To customize amendments if needed.
- ● Edging Material: (e.g., bricks, metal, or plastic) to define the bed.
Step-by-Step guide for building modular loam layers in flower beds
This layered approach keeps roots happy year-round while saving you work.
🌱 Step 1: Clear and Measure the Flower Bed Space
Remove existing vegetation, rocks, or debris from the bed area. Use a tape measure to determine the dimensions—most flower beds thrive with a 3-4 foot width for easy access to all plants. Mark the boundaries with wooden stakes and string for precision, especially if working with curves or geometric shapes.
Dig down 12-18 inches deep across the entire bed. This depth accommodates root systems while allowing room for your layered loam structure. Break up compacted soil with a garden fork, creating channels for drainage and root penetration. I like to work in sections if the bed is large, focusing on one 2-foot square at a time to maintain consistency.
🪴 Step 2: Install Drainage and Structural Layers
Line the bottom of the bed with 2-3 inches of coarse gravel or crushed stone. This layer prevents waterlogging by promoting drainage while supporting the weight of the loam above. Use a rake to level it evenly, ensuring no gaps where soil could settle into the drainage layer later.
Next, add a 4-inch layer of decomposed granite or expanded shale. This lightweight material improves aeration and prevents compaction. Press it down gently with your hands—just enough to create a stable base for the loam layers without crushing the particles. This step is especially critical in clay-heavy soils where roots struggle to breathe.
🌿 Step 3: Build the Loam Layer Sandwich
Start with a 4-inch layer of composted leaf mold or well-aged compost. This top layer provides essential organic matter and microbial activity to feed your plants. Spread it evenly, then lightly till it into the top inch of the decomposed granite below to blend the layers naturally.
Add a 6-inch layer of topsoil mixed with perlite (about 20% perlite by volume) for improved drainage and root aeration. This middle layer gives plants the nutrients and structure they need while preventing soil compaction. Water it lightly after spreading to help settle the materials and eliminate air pockets.
☀️ Step 4: Top With Finishing Layer and Mulch
Finish with a 2-inch layer of fine sand or coconut coir to create a smooth planting surface. This top layer helps retain moisture while preventing crusting that can inhibit seedling emergence. Rake it flat, then gently press it down with your hands to create a firm but loose surface.
Apply a 2-3 inch layer of organic mulch (such as shredded bark or straw) on top. This mulch protects the loam layers from erosion, regulates soil temperature, and slowly decomposes to add nutrients. Keep the mulch 2 inches away from plant stems to prevent rot. Water the entire bed thoroughly after completing all layers to help everything settle.
⏰ Step 5: Plant and Maintain the Layered System
Plant your flowers directly into the prepared bed, spacing them according to their mature size. The layered structure gives roots immediate access to nutrients and moisture at different depths. Water deeply after planting to help roots penetrate the layers, then maintain with 1 inch of water per week, adjusting for rainfall.
Every 3-4 months, top-dress the bed with a thin layer of compost to replenish nutrients. This modular approach means you can easily adjust individual layers if you notice drainage issues or nutrient deficiencies in specific areas. The system stays balanced for years with minimal maintenance—just watch for signs of compaction and aerate as needed.
Tips & tricks for perfect modular loam layers in flower beds
Building the perfect flower bed doesn't have to be a guessing game—these insights will help you create a thriving ecosystem that lasts seasons.
Layer Order Matters: When constructing your layers in Step 3, work from the bottom up to prevent mixing. I've found that using a stiff-bristled brush to gently sweep each layer into place creates cleaner separation between the 4-inch composted leaf mold and the 6-inch topsoil-perlite mix. This prevents nutrient leaching between layers, which can happen if you disturb the boundaries. The decomposed granite layer acts as a natural barrier that keeps everything in place.
Soil Testing Before You Start: Before digging down 12-18 inches in Step 1, test your native soil's composition. Clay-heavy soils benefit most from this layered approach, but sandy soils might need adjustments—reduce the decomposed granite to 3 inches and increase the composted leaf mold to 5 inches. You can do a simple jar test at home: fill a jar with soil and water, then observe how quickly the particles settle. This tells you whether you need more drainage (gravel) or moisture retention (compost).
Perlite Proportion is Critical: In Step 3, when mixing your 6-inch topsoil layer with perlite, measure the perlite by volume rather than weight. Use a clear plastic cup to scoop perlite—it should occupy about 20% of the total volume when mixed with topsoil. Too much perlite (over 25%) can create air pockets that roots avoid, while too little (under 15%) defeats the purpose of improved aeration. I keep a separate container just for perlite to avoid cross-contamination with other materials.
Mulch Application Technique: When applying your 2-3 inch mulch layer in Step 4, use a push broom to distribute it evenly rather than just dumping it. This creates a consistent thickness that prevents water from pooling against plant stems. I like to work in concentric circles from the center outward, which helps me maintain that crucial 2-inch clearance from stems. For newly planted beds, consider using straw mulch initially—it breaks down more slowly and provides better erosion control than shredded bark.
Pro Tips for Flower Bed Material
- Building the perfect flower bed doesn't have to be a guessing game—these insights will help you create a thriving eco...
- Layer Order Matters: When constructing your layers in Step 3, work from the bottom up to prevent mixing. I've found t...
- Soil Testing Before You Start: Before digging down 12-18 inches in Step 1, test your native soil's composition. Clay-...
Frequently asked questions
Got questions about creating the perfect flower bed with modular loam layers? Here are some common ones—and their answers!
What’s the best time of year to install modular loam layers in a flower bed?
The ideal time is early spring or fall when soil is workable but not frozen. Spring lets plants establish roots before summer heat, while fall avoids drought stress. Avoid winter (frozen ground) or peak summer (water loss).
Can I use regular garden soil instead of modular loam layers?
While garden soil works, it lacks the structured drainage and nutrient balance of modular loam. Regular soil compacts easily, leading to poor root growth. Mixing in compost or topsoil helps, but dedicated loam layers optimize aeration and moisture retention for year-round blooms.
How do I troubleshoot water pooling in my flower bed?
Pooling usually means poor drainage. Check for:
- Compacted loam layers—fluff with a garden fork.
- Clay-heavy soil—amend with perlite or coarse sand.
- Low-lying areas—add a slight slope or extend drainage channels.
Are there eco-friendly alternatives to traditional flower bed materials?
Yes! Try:
- Composted leaves—adds organic matter without chemicals.
- Coconut coir—sustainable, retains moisture, and breaks down slowly.
- Biochar—improves soil structure and nutrient retention.
- Recycled mulch—like shredded newspaper or untreated wood chips.
How often should I refresh or replace loam layers?
Refresh every 2–3 years by top-dressing with 1–2 inches of compost or new loam. Replace fully if:
- Soil looks depleted (pale, crumbly).
- Plants show stunted growth despite care.
- You’re introducing new, heavy-rooted perennials.
Wrapping up and next steps
Choosing the right flower bed material—like modular loam layers—sets the stage for vibrant, thriving plants all year round. 🌸 Whether you’re a seasoned gardener or just starting, the key is balancing drainage, nutrients, and aeration to keep roots happy and blooms abundant.
Now that you’re armed with the best practices, it’s time to roll up your sleeves and transform your outdoor space into a lush, colorful haven!
Ready to get growing? Start small—pick one bed, gather your materials, and build those perfect layers. Your future self (and your plants!) will thank you. Happy gardening! 🌱