
Tools
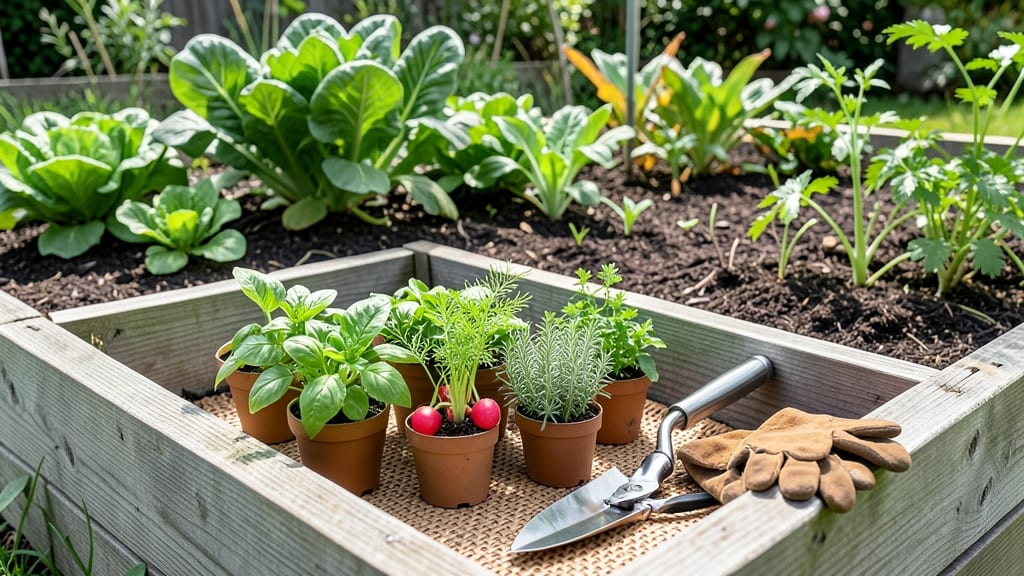
Building the elevated raised garden bed plans that outlast the frost—this is the game-changer that finally solved my soggy spring soil problems. 🌱 The right depth, proper drainage, and cedar’s natural rot resistance mean your plants get a head start while your neighbors are still shoveling mud.
Start with 6-inch-high frames for easy access and 12-inch depth for frost-proof root zones. Cedar lasts 10+ years untreated, and modular sections let you expand as your gardening dreams grow. My first bed cost under $150 and now produces twice what my in-ground plot ever did.
You’ll end up with clean lines, no bending over, and soil that warms up faster in spring. The modular design also means you can move sections to follow the sun or create new shapes as your garden evolves. Works for small patios, large backyards, or even wheelchair-accessible designs.
Let’s get those plans drawn up!
📚 In This Guide
- What you need
- Instructions
- Tips and common mistakes
- Wrapping up and next steps
What you need
- ● Cedar lumber (2x6 or 2x8 boards) – 6-8 pieces, each 8 feet long (for a standard 4’x8’ bed; adjust for size). Cedar resists rot and pests naturally!
- ● Galvanized or stainless steel screws – 100-150 count, 2.5–3 inches long (for durability and weather resistance).
- ○ Corner brackets (optional but recommended) – 4 pieces, heavy-duty metal for extra stability.
- ● Landscape fabric or hardware cloth – 1 roll, to block weeds and pests at the base.
- ● Garden soil mix – 1–2 cubic yards, depending on bed depth (aim for 12–18 inches for frost-proof roots!).
- ● Compost or organic matter – 1–2 bags, to enrich the soil.
- ○ Mulch (straw, wood chips, or leaves) – Optional, for moisture retention.
- ● Measuring tape – For precise cuts and assembly.
- ● Circular saw or miter saw – To cut lumber to size (or pre-cut boards from a hardware store).
- ● Drill/driver – With a phillips or hex bit for screws.
- ● Level – Ensures your bed stays perfectly even!
- ● Wheelbarrow or shovel – For moving soil and amendments.
- ● Work gloves and safety goggles – Because DIY deserves protection! 🛡️
- ● A flat, level spot in your yard (avoid low areas where water pools).
- ● Access to a water source (hose or bucket) for filling the bed.
- ● Basic woodworking skills (or a friend who’s handy! 😉).
- ● Check local building codes—some areas require permits for elevated beds over a certain height.
Step-by-step instructions for building modular cedar raised garden beds
Here's how to create sturdy, frost-proof cedar frames that last for years and give your plants the perfect growing environment.
🪴 Step 1: Measure and Cut Cedar Planks to Standardized Dimensions
Start by cutting your cedar planks to these exact dimensions: 4 planks at 8 feet long (for the long sides) and 4 planks at 4 feet long (for the short sides). Use a circular saw with a fine-tooth blade to ensure clean, splinter-free cuts—cedar splinters easily, and you don’t want those sharp edges in your garden.
I mark measurements directly on the wood with a pencil and carpenter’s square before cutting, double-checking each piece against the others to maintain uniformity. This step is critical because mismatched corners will make assembly frustrating later. Label each piece with its intended position (e.g., "long side A") using a permanent marker—trust me, you’ll thank yourself when you’re assembling.
☀️ Step 2: Assemble the Bed Frame Using Galvanized Corner Brackets
Place two 8-foot planks parallel on a flat, stable surface like a driveway or workbench. Position them 12 inches apart (this gives you 10 inches of planting depth, perfect for frost protection). Attach the galvanized corner brackets at each end using 3-inch deck screws, driving them in at a 45-degree angle for maximum strength.
Next, add the 4-foot planks to complete the rectangle, again using corner brackets to secure them. I tap the brackets lightly with a rubber mallet to ensure they’re flush against the wood before screwing—this prevents wobble and creates a professional finish. Double-check the diagonals with a tape measure to confirm the frame is square. If one corner feels loose, add an extra screw to reinforce it.
💧 Step 3: Reinforce the Frame and Add Support Legs for Stability
Lift the assembled frame and position it where you want it to stay permanently. Use a level to ensure it’s perfectly horizontal—uneven beds lead to poor drainage and uneven planting. If the ground isn’t level, adjust by adding or removing gravel or pavers underneath before proceeding.
Attach the support legs to the outside corners of the frame using 2.5-inch deck screws, burying the screws just below the wood surface to prevent splinters. The legs should sit 6 inches below the top edge of the frame, providing stability without interfering with planting. I like to pre-drill holes for the screws to prevent wood splitting—cedar is soft enough that this makes a real difference.
🌱 Step 4: Line the Bed and Fill With the Right Layering Strategy
Lay down landscape fabric over the bottom of the bed to block weeds and grass from invading your soil. Secure it with staple guns around the edges, leaving no gaps. Next, add a 2-inch layer of gravel for drainage—this is non-negotiable in frost-prone areas, as it prevents water from pooling and freezing at the roots.
Top the gravel with a 4-inch layer of compost, followed by a 4-inch layer of high-quality potting mix. I mix in a handful of slow-release fertilizer into the top layer to give plants a nutrient boost right from the start. Avoid garden soil here—it’s too dense and may contain weeds or pathogens. Press each layer down lightly with your hands to eliminate air pockets.
⏰ Step 5: Finalize and Prepare for Planting
Let the bed sit for 24-48 hours before planting. This allows the layers to settle slightly and ensures the soil is at the perfect moisture level. Water the bed thoroughly after filling—this helps the layers compact naturally and prevents future sinking. You’ll know it’s ready when water drains through the gravel layer within 10-15 minutes of watering.
Here’s the thing—cedar beds last 10-15 years if built right, but the secret to longevity is regular maintenance. Seal the wood every 2-3 years with a cedar-safe sealant to protect against rot and insects. And don’t forget to add 2-3 inches of fresh compost each spring to keep the soil rich and fertile. Your plants will reward you with bountiful harvests for years to come.
Tips & tricks for perfect modular cedar raised garden beds
Building a sturdy, frost-proof garden bed doesn't have to be a guessing game—these practical tips will help you avoid common pitfalls and create a frame that lasts for years.
Precision Cuts Pay Off: When cutting your cedar planks to the exact dimensions of 8 feet and 4 feet, use a straightedge guide clamped to your saw to prevent drift. Cedar is soft and can shift during cutting, so take your time—especially on the long sides. I’ve found that marking both sides of the plank with your pencil and carpenter’s square ensures perfectly parallel cuts every time.
The 45-Degree Screw Secret: In Step 2, when attaching those galvanized corner brackets with 3-inch deck screws, driving them at a 45-degree angle creates a hidden strength boost. The angled screws resist lateral forces better than straight-in screws, which is crucial for windy areas. If you don’t have a screw gun with angle adjustment, use a piece of cardboard as a guide to maintain consistent angles.
Leveling Without the Headache: Before permanently positioning your frame, check for level in both directions using your level tool. If you notice even a slight tilt, don’t just add more gravel underneath—adjust by shimming with thin pieces of wood or pavers first. This prevents the frame from warping over time. I’ve seen beds that looked level initially but became uneven after just one season because of improper initial leveling.
Layering Like a Pro: When adding your 2-inch gravel layer in Step 4, use a straight board as a guide to create an even surface. This prevents the heavier compost and potting mix from compressing unevenly. After adding each layer, give it a gentle press with your hands to eliminate air pockets, but don’t compact too firmly—you want good drainage, not a solid block. The 4-inch compost layer should be fluffy, not packed down like dirt.
Pro Tips for Elevated Raised Garden Bed Plans
- Building a sturdy, frost-proof garden bed doesn't have to be a guessing game—these practical tips will help you avoid...
- Precision Cuts Pay Off: When cutting your cedar planks to the exact dimensions of 8 feet and 4 feet, use a straighted...
- The 45-Degree Screw Secret: In Step 2, when attaching those galvanized corner brackets with 3-inch deck screws, drivi...
Frequently asked questions
Got questions about building and maintaining your elevated raised garden bed? You’re not alone! Here are some of the most common concerns—plus straightforward answers to help you grow with confidence.
What’s the best depth for a frost-proof raised bed?
Aim for 10–12 inches deep to accommodate root systems and protect plants from frost. Deeper beds (18+ inches) work for perennials or heavy-rooted crops like asparagus. Just ensure proper drainage—no soggy soil!
When is the ideal time to build a raised bed?
Build 6–8 weeks before planting to let soil settle and decompose organic matter. Spring is ideal, but you can prep beds in fall for early-spring planting. Just avoid waterlogged ground—wait for dry weather!
Can I use alternatives to cedar for my raised bed?
Yes! Other durable options include:
- Redwood: Naturally rot-resistant and budget-friendly.
- Pressure-treated lumber: Use only if labeled "ground-contact safe" (avoid CCA-treated wood).
- Composite materials: Low-maintenance but pricier.
- Bricks/stone: Heavy but long-lasting (best for permanent beds).
How do I prevent weeds from invading my raised bed?
Weed control starts with landscape fabric under the bed (with holes for drainage) or a thick layer of cardboard topped with mulch. Keep beds mulched with straw or wood chips to block sunlight and smother weeds. Regularly check edges too!
What if my raised bed soil looks compacted or waterlogged?
Fluff the soil with a garden fork or add compost, perlite, or coarse sand to improve drainage. If water pools, check for poor bed design (e.g., no gravel base) or overwatering. Elevate beds slightly or add drainage holes if needed.
Pro Tip:
Label your bed sections with reusable plant markers (or sticks + paint) to track crops and rotations. It’ll save you headaches—and guesswork—next season!
Wrapping up and next steps
Building your own elevated raised garden bed with modular cedar frames is a rewarding project that brings both beauty and functionality to your outdoor space. 🌱 Whether you're a beginner or a seasoned gardener, these plans offer a sturdy, frost-proof solution that maximizes growing space while keeping weeds and pests at bay.
With the right materials and a little elbow grease, you’ll create a thriving garden that’s as practical as it is picturesque.
Now that you’re armed with the knowledge, it’s time to roll up your sleeves and get growing! Start by sketching your design, gathering your supplies, and taking it step by step.
Before you know it, you’ll be harvesting fresh, homegrown produce—all thanks to your new elevated garden bed. Happy building! 🛠️✨