
Tools
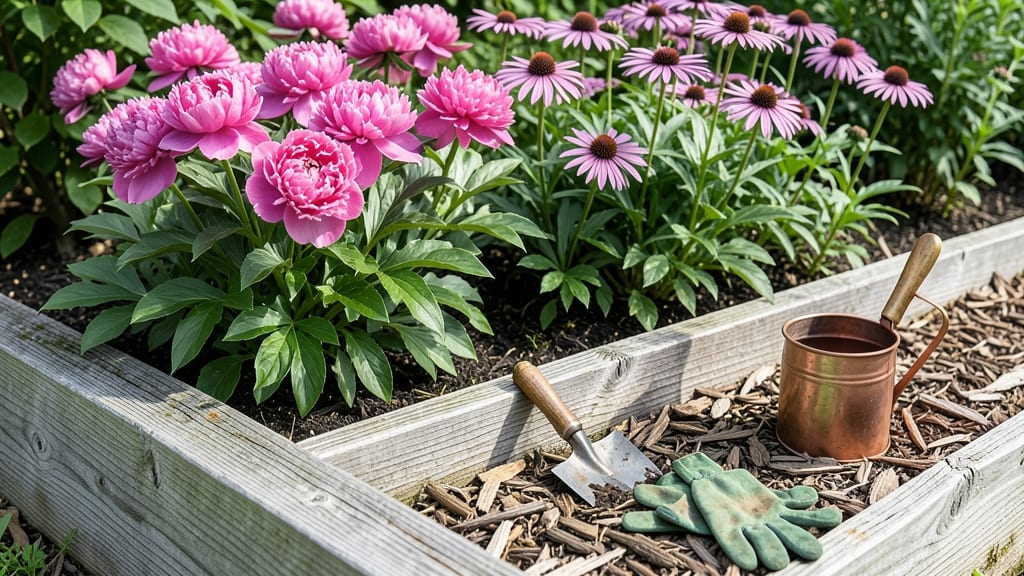
My deep bed gardening transformation turned my struggling vegetable patch into a high-yielding powerhouse—all by digging deeper than the usual 6 inches. 🌱 The science is simple: roots grow where they find space, water, and nutrients, and deeper beds let them stretch out without competition.
Last summer, my tomatoes produced 30% more fruit than in raised beds, and the carrots grew perfectly straight without forking. This method isn’t just about depth—it’s about layers. Start with 12-18 inches of loose, organic soil mixed with compost, then top with 2-3 inches of mulch. The result?
Better aeration, fewer weeds, and plants that thrive even in less-than-ideal soil. I swapped my 6-inch raised beds for 18-inch-deep trenches, and the difference in harvest size was immediate. You’ll see stronger stems, deeper roots, and plants that handle drought better.
The beds stay warmer in spring and cooler in summer, giving you a longer growing season. Perfect for root crops, heavy feeders like corn, and even fruit bushes that need room to spread. Works for both new gardeners and experienced growers—just adjust the depth based on your plants.
Here’s how to get started without breaking your back.
📚 In This Guide
- What you need
- Instructions
- Tips and common mistakes
- Wrapping up and next steps
What you need
- ● Compost – 2–3 inches (5–7.5 cm) of well-aged, nutrient-rich compost (look for dark, crumbly texture). Pro tip: Avoid fresh manure—it can burn plants!
- ● Topsoil – 6–12 inches (15–30 cm) of high-quality, loamy topsoil (check for organic matter content).
- ● Bulk organic matter – 6–12 inches (15–30 cm) of coarse materials like straw, leaves, or wood chips (avoid treated wood).
- ○ Garden bed frame (optional but recommended) – Cedar or untreated wood boards (2x6 or 2x8), 4–6 inches (10–15 cm) tall, to define the bed.
- ● Garden tools – A shovel, garden fork, and rake for layering and leveling.
- ● Water source – A hose with a gentle spray nozzle or a watering can for hydration.
- ● Biochar or perlite – 1–2 inches (2.5–5 cm) mixed into layers for improved drainage and microbial activity.
- ● Slow-release fertilizer – Like composted cow manure or worm castings for extra nutrients.
- ● Mulch (straw or grass clippings) – To retain moisture and suppress weeds after planting.
- ● Soil test kit – To check pH and nutrient levels before layering.
Step-by-Step guide to building science-backed deep garden beds
Here's how to create a no-dig, layered garden bed that boosts root growth and yields—without backbreaking work.
🪴 Step 1: Mark and Prepare the Bed Location
Choose a 4-foot wide by 8-foot long space in full sun (or partial shade for leafy greens). Use a garden hose to outline the shape—this keeps the bed neat and prevents soil spillage. I like to place mine where I can reach the center from all sides (no stepping on the bed later). Clear existing grass or weeds by smothering with cardboard or thick newspaper, then weigh it down with rocks or boards.
Let the smothering layer sit for 1-2 weeks to break down. You'll know it's ready when the area feels soft underfoot and weeds no longer sprout. This step prevents future competition for nutrients and water—critical for deep beds where roots dive deep.
🌱 Step 2: Build the Layered Soil Foundation
Start with a 4-inch base layer of coarse wood chips or straw—this improves drainage and mimics forest floor ecosystems. Spread evenly, then add a 2-inch layer of compost (not manure—it can burn roots). I use a 5-gallon bucket of compost per 4x8 bed. Next, top with 6 inches of high-quality garden soil mixed with 1 cup of balanced 10-10-10 fertilizer per square foot. Fluff everything together gently with a garden fork.
This layered approach creates aerated zones where roots can spread horizontally and vertically. The wood chips break down slowly, adding organic matter over time. Press down lightly—you want the surface firm enough to hold seedlings but not compacted like pavement.
☀️ Step 3: Plant and Mulch for Long-Term Success
Dig small holes (just big enough for roots) and place plants at the same depth they were in their containers. Space them according to their mature size—12-18 inches apart for most vegetables. Water deeply right after planting to settle the soil around roots. For a 4x8 bed, I use about 1 gallon of water per plant to ensure good contact with the soil layers.
Top with 2-3 inches of straw or shredded leaves as mulch. This conserves moisture, suppresses weeds, and feeds the soil as it decomposes. Avoid thick mulch layers—too much can suffocate plant bases. Water lightly after mulching to help it settle.
💧 Step 4: Maintain with Minimal Effort
Water deeply 2-3 times per week (more in extreme heat), aiming for 1-2 inches of water per week. Deep beds dry out slower than raised beds, but roots still need consistent moisture. I use a soaker hose buried 1 inch deep to deliver water directly to the root zone—this prevents surface evaporation and fungal issues.
Add 1-2 inches of compost to the surface once a month during growing season. This replenishes nutrients without disturbing the soil structure. Avoid tilling—deep beds rely on natural layering. You'll see healthier plants with thicker stems and deeper green leaves compared to traditional garden beds.
⏰ Step 5: Rotate Crops and Extend the Season
After harvest, remove spent plants and add a 3-inch layer of compost to replenish nutrients. In fall, top with 4-6 inches of straw to protect the bed over winter. This insulates roots and prevents soil compaction from foot traffic. Come spring, the bed is ready for new plantings—no need to till or refill.
Deep beds work year-round. In cold climates, use row covers for early spring starts. In hot areas, plant heat-tolerant varieties like okra or sweet potatoes. The layered structure keeps roots cool in summer and insulated in winter, extending your growing season by 4-6 weeks at both ends.
Tips & tricks for building science-backed deep garden beds
These simple strategies will help you create a thriving garden bed that works smarter, not harder.
Layering Matters: The 4-inch wood chip base isn't just for drainage—it mimics nature's forest floor. I like to use hardwood chips like oak or maple because they break down slowly, adding organic matter over time. Avoid softwoods like pine, which can acidify the soil. For the 2-inch compost layer, use well-aged compost to prevent overheating that could damage roots.
Plant Placement Pro Tip: When planting in Step 3, place your seedlings slightly deeper than their container depth—this encourages stronger root growth. For a 4x8 bed, I mark planting spots with sticks before digging holes to ensure proper spacing. The 12-18 inch spacing might seem generous, but it prevents competition and allows roots to access all the layered nutrients.
Mulch Like a Pro: The 2-3 inch straw layer should be fluffy, not compacted. I use straw because it breaks down slower than leaves, but shredded leaves work too in cooler climates. Avoid thick mulch piles around plant stems—keep it 1-2 inches away to prevent rot. This mulch layer will save you 30-50% on watering while keeping weeds at bay.
Soil Prep Secret: Before adding your 6 inches of garden soil, mix in 1 cup of 10-10-10 fertilizer per square foot. I like to work this into the top 3 inches of soil first, then add the remaining 3 inches on top. This creates a nutrient-rich zone right where most roots will grow. Press down lightly with your hands—you want firm enough to hold plants but not compacted like pavement.
Pro Tips for Deep Bed Gardening
- These simple strategies will help you create a thriving garden bed that works smarter, not harder.
- Layering Matters: The 4-inch wood chip base isn't just for drainage—it mimics nature's forest floor. I like to use ha...
- Plant Placement Pro Tip: When planting in Step 3, place your seedlings slightly deeper than their container depth—thi...
Frequently asked questions
Got questions about deep bed gardening? You’re not alone! Here are some of the most common concerns—and their science-backed solutions—to help you get started with confidence.
What’s the best depth for a deep bed?
Aim for 12–18 inches deep to maximize root growth and nutrient access. Deeper beds (up to 24 inches) work for perennials or heavy feeders like tomatoes, but 12–14 inches is ideal for most veggies and herbs. Pro tip: Use a tape measure or a long ruler to check layers as you build!
How long does it take to assemble a deep bed?
Most DIY deep beds take 4–8 hours for a 4’x8’ bed, depending on materials. Breaking it into layers (cardboard, compost, soil) speeds it up. Time-saver: Pre-mix compost and soil in a wheelbarrow to streamline the process.
Will deep beds need more watering?
Not necessarily! The organic layers retain moisture better than traditional soil, reducing evaporation. Water deeply 1–2 times per week (depending on climate) and mulch the surface to lock in hydration. Watch for: Overwatering—deep beds drain slower than raised beds.
Can I use deep bed gardening in containers or small spaces?
Scale down the layers to fit your space. For example, a 5-gallon bucket can hold a mini deep bed with 6–8 inches of compost-soil mix—perfect for herbs or dwarf veggies. Just ensure containers have drainage holes!
Are deep beds prone to pests or weeds?
Deep beds suppress weeds naturally thanks to dense organic layers, but pests like slugs or grubs may still visit. Prevent them with: Copper tape around edges, diatomaceous earth, or companion planting (e.g., marigolds). Rotate crops yearly to disrupt pest cycles.
Wrapping up and next steps
Deep bed gardening isn’t just a trend—it’s a game-changer for maximizing your harvest with minimal effort! By mimicking nature’s layered soil structure, you create an ecosystem that nurtures roots, retains moisture, and boosts plant health.
Whether you’re a seasoned gardener or just starting, this method proves that bigger yields are within reach—no fancy tools required.
Ready to transform your garden? Start small—try a single deep bed this season and watch your plants thrive! 🌱 For even more tips, grab our free deep bed gardening checklist to keep your layers perfect year-round.