
Tools
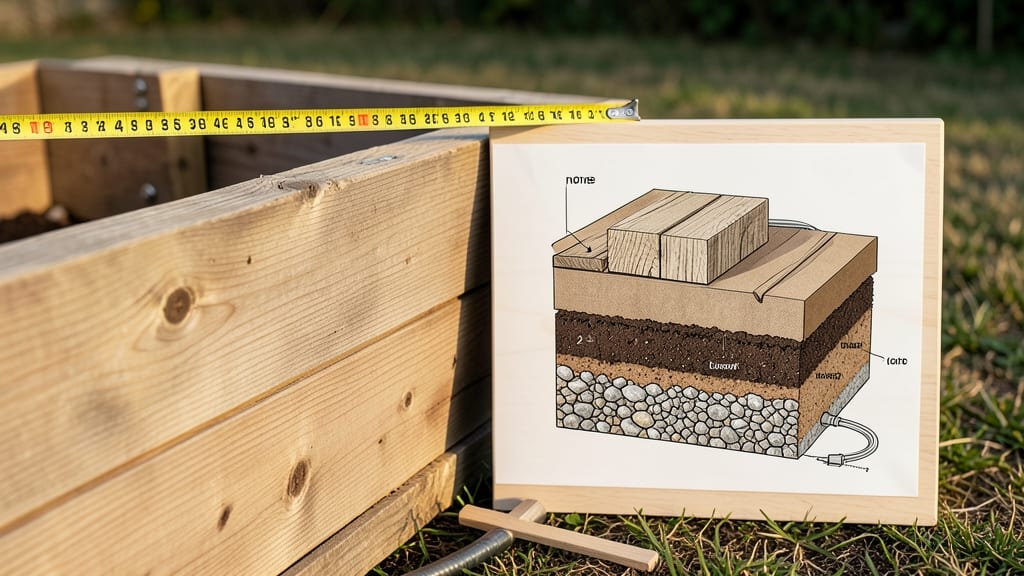
Raised garden bed dimensions aren't one-size-fits-all—4 feet wide is the magic number for reach and productivity. 🌱 After years of trial and error (and my back aching from overreaching), I learned that width matters more than you'd think.
Too narrow wastes space; too wide makes maintenance a chore. The sweet spot balances accessibility with planting efficiency.
Depth is where roots get their space to thrive—12 inches minimum for most vegetables, but 18 inches if you're growing deep-rooted crops like tomatoes or potatoes. My first attempt with 8-inch beds left carrots stunted and potatoes crowded.
Soil volume also matters: a 4'x8' bed with 12" depth holds about 1 cubic yard of soil—enough to feed a small family for months.
You'll end up with a garden that's easier to reach, less prone to compaction, and packed with more plants per square foot. The right dimensions mean fewer weeds, better drainage, and soil that stays loose and fertile all season.
Plus, you'll avoid the frustration of bending over or struggling to reach the center.
Whether you're building for a backyard plot, balcony containers, or a community garden, these dimensions adapt easily. Just adjust width for accessibility needs or length for space constraints—your plants (and your back) will thank you.
📚 In This Guide
- What you need
- Instructions
- Tips and common mistakes
- Wrapping up and next steps
What you need
- ● Lumber: Untreated cedar, redwood, or composite wood (recommended for durability). For a standard 4’ x 8’ bed (12” tall), you’ll need: 4 pieces of 4’ long lumber (for the sides)
- ● 4 pieces of 8’ long lumber (for the ends)
- ● Screws or galvanized nails: 2.5” deck screws (at least 20-30 per bed) or rust-resistant nails.
- ● Drill or hammer: For assembling the frame.
- ● Measuring tape: To ensure precise raised garden bed dimensions.
- ● Level: For keeping the bed even and stable.
- ○ Landscape fabric or hardware cloth: (Optional but recommended) To block weeds and pests.
- ● Soil mix: 6-12 cubic feet (depending on bed size), including a blend of topsoil, compost, and perlite.
- ● Corner brackets: For extra reinforcement.
- ● Wood stain or sealant: To extend the life of your lumber.
- ● Drip irrigation kit: For efficient watering.
- ● Garden edging or rocks: To define the bed’s borders neatly.
Instructions for planning science-backed raised garden bed dimensions
Here's how to design beds that maximize airflow, root space, and harvest potential—without wasting materials.
📏 Step 1: Determine Bed Length Based on Your Space
Start with a minimum 4-foot width—this ensures you can reach the center without stepping on the soil, which compacts it. For a standard raised bed, aim for 8-12 feet long to balance yield and manageability. I like to use 10-foot lengths because they fit neatly against most fences or walls while providing enough growing space for 4 servings of vegetables.
Measure your available area first. If space is tight, a 4x4-foot square bed works well for herbs or small crops like lettuce and radishes. Just remember: wider beds require more soil volume and deeper frames to prevent warping over time.
🪴 Step 2: Calculate Depth and Soil Volume
Standard 10-12 inches of soil depth gives roots plenty of room to grow without overheating in summer. For heavy feeders like tomatoes or squash, go deeper—14-18 inches—to support larger root systems. I use 12-inch depth for most vegetables because it balances drainage and root space while keeping material costs reasonable.
Multiply length × width × depth to calculate cubic feet of soil needed. For a 4x8-foot bed at 12 inches deep, that’s 32 cubic feet—enough for about 1 cubic yard of soil mix. Order 10-20% extra to account for settling and compaction after watering.
☀️ Step 3: Plan Spacing for Optimal Airflow and Sunlight
Arrange your bed layout to maximize sun exposure and air circulation. Place taller plants like tomatoes or peppers on the north side (in the Northern Hemisphere) to avoid shading shorter crops. I like to leave 12-18 inches of space between rows for easy weeding and harvesting without crowding.
For a 4-foot-wide bed, use a staggered planting pattern to prevent disease spread. For example, plant a row of bush beans, then a row of lettuce, then another row of beans—this creates natural pathways while ensuring every plant gets sunlight. Avoid planting in straight lines unless your crops have very different sun requirements.
🌱 Step 4: Adjust Dimensions for Specific Crops
Leafy greens like spinach or kale thrive in shallow beds (8-10 inches deep) because they develop broad root systems near the surface. Root vegetables such as carrots or potatoes need 12+ inches of loose soil to prevent forking or stunted growth. I always check seed packets for recommended spacing—carrots, for instance, need 2-3 inches apart, while potatoes should have 12-18 inches between hills.
If you’re growing vining plants like cucumbers or pole beans, dedicate one corner of the bed to trellises or cages. This keeps them contained while freeing up space for other crops. For example, a 4x4-foot bed can fit two 6-foot trellises side by side with room for bush varieties in between.
⏰ Step 5: Test and Refine Over Time
After your first harvest, note which plants struggled due to spacing or depth. If tomatoes get root-bound or lettuce bolts early, it’s a sign your bed needs deeper soil or wider rows. I keep a simple sketch of each bed, marking what worked and what didn’t—this helps me tweak dimensions for the next season.
Pay attention to soil temperature too. Deeper beds warm up slower in spring, which can delay germination for cool-season crops. If you notice this, consider adding black landscape fabric on top of the soil in early spring to absorb heat and speed up warming.
Tips & tricks for perfect raised garden bed layouts
Took me years of trial-and-error to figure out these key strategies for beds that actually produce—without the wasted space or overcrowding headaches.
Reachability Factor: That 4-foot minimum width in Step 1 isn't arbitrary—it's based on ergonomics. When you're harvesting, your arms should extend straight out without leaning over. I've seen gardeners skimp on width and end up with compacted soil from stepping in. For taller gardeners, consider 4.5-foot beds to avoid shoulder strain during harvests.
Soil Volume Math: The 10-20% extra soil buffer in Step 2 is non-negotiable. I learned this the hard way when my first 4x8-foot bed needed 38 cubic feet instead of 32 after watering. Use a calculator or online volume tool to double-check your measurements—round up when in doubt. For heavy feeders like squash, add another 5% to account for compost settling over time.
North-South Orientation: The north-side placement in Step 3 is critical for Northern Hemisphere gardens. I've seen beginners put tall plants in the south where they block sunlight for weeks. Pro tip: Use a compass app to verify orientation before planting. For Southern Hemisphere gardens, reverse this and place tall plants on the south side.
Crop-Specific Depth: The 8-10 inch depth for leafy greens in Step 4 is perfect because it prevents overheating while accommodating their shallow roots. For root crops, I recommend adding 2-3 inches of coarse sand to the bottom of deeper beds—this improves drainage without sacrificing root space for potatoes or carrots.
Pro Tips for Raised Garden Bed Dimensions
- Took me years of trial-and-error to figure out these key strategies for beds that actually produce—without the wasted...
- Reachability Factor: That 4-foot minimum width in Step 1 isn't arbitrary—it's based on ergonomics. When you're harves...
- Soil Volume Math: The 10-20% extra soil buffer in Step 2 is non-negotiable. I learned this the hard way when my first...
Frequently asked questions
Got questions about raised garden bed dimensions? You’re not alone!
Here are answers to the most common queries to help you plan like a pro.
What are the ideal raised bed dimensions for vegetables?
For maximum yield, aim for 4’ x 8’ or 4’ x 12’ beds—this fits comfortably between rows for easy access. Pro tip: Avoid widths over 4’ to prevent soil compaction and weeds. Shorter beds (e.g., 3’ x 6’) work for small spaces or intensive planting like salad greens.
How deep should a raised garden bed be?
Most plants thrive in 6–12 inches of soil, but deep-rooted veggies (like tomatoes or carrots) need 12–18 inches. For general gardening, 10–12” is a sweet spot—deep enough for roots but manageable to fill. Bonus: Add compost or aged manure to boost fertility in shallower beds!
Can I use a raised bed that’s too narrow or too wide?
Yes, but with trade-offs! Narrow beds (under 3’) limit plant variety but work for herbs or microgreens. Wide beds (over 4’) force you to step inside, compacting soil. For flexibility, opt for 3’–4’ widths and section them into planting zones (e.g., 2’ x 4’ grids).
How do I adjust dimensions for cold climates?
In colder areas, raise the bed height to 12–18” to insulate roots and add mulch (straw or leaves) to retain heat. For early spring, use black plastic mulch under beds to warm soil faster. Remember: Deeper beds also dry slower, so monitor moisture closely in winter.
What if my soil is too sandy or clay-heavy?
Adjust bed dimensions to accommodate amendments: Wider beds (up to 5’) let you mix in compost, peat moss, or perlite more easily. For clay soil, build beds 12–18” deep to encourage root growth downward. Quick fix: Layer cardboard + compost at the bottom to improve drainage in clay.
Wrapping up and next steps
Perfecting your raised garden bed dimensions isn’t just about aesthetics—it’s about unlocking your plants’ full potential! 🌱 Whether you’re a seasoned gardener or just starting, the right spacing boosts airflow, reduces pests, and maximizes your harvest.
Now that you’ve got the science-backed sizing, it’s time to roll up your sleeves and build—your future bountiful garden awaits!
Ready to take the next step? Sketch your design, gather supplies, and start planting! Happy gardening! 🌿